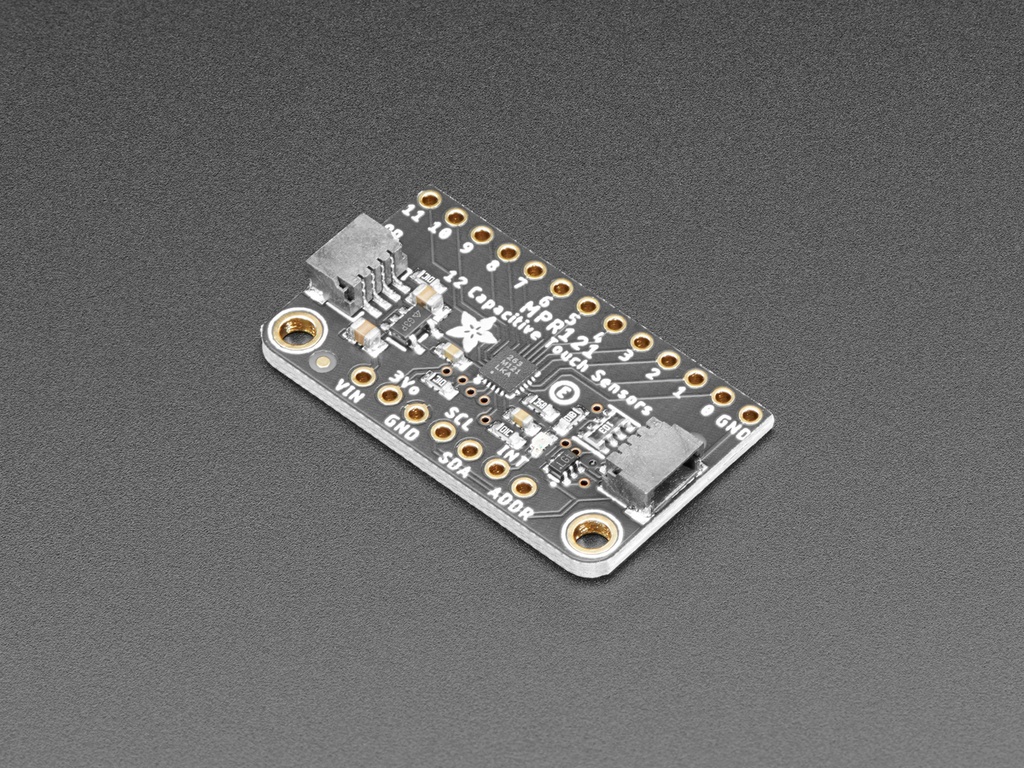
Description: Add lots of touch sensors to your next microcontroller project with this easy-to-use 12-channel capacitive touch sensor breakout board, starring the MPR121. This chip can handle up to 12 individual touchpads.
The MPR121 has support for only I2C, which can be implemented with nearly any microcontroller. You can select one of 4 addresses with the ADDR pin, for a total of 48 capacitive touch pads on one I2C 2-wire bus. Using this chip is a lot easier than doing the capacitive sensing with analog inputs: it handles all the filtering for you and can be configured for more/less sensitivity.
This sensor comes as a tiny hard-to-solder chip so we put it onto a breakout board for you. Since it's a 3V-only chip, we added a 3V regulator and I2C level shifting so it's safe to use with any 3V or 5V microcontroller/processor like Arduino. We even added an LED onto the IRQ line so it will blink when touches are detected, making debugging by sight a bit easier on you. Comes with a fully assembled board, and a stick of 0.1" header so you can plug it into a breadboard. For contacts, we suggest using copper foil or pyralux, then solder a wire that connects from the foil pad to the breakout.
Getting started is a breeze with our Arduino library and tutorial. You'll be up and running in a few minutes, and if you are using another microcontroller, it's easy to port our code.
Of course, we wouldn't leave you with a datasheet and a "good luck!" - we wrote a detailed tutorial showing how to wire up the sensor, use it with Arduino or CircuitPython/Python, and example code that gets the sensor logging data and detecting your touch!
As if that weren't enough, we've now also added SparkFun qwiic compatible STEMMA QT connectors for the I2C bus so you don't even need to solder the I2C and power lines. Just wire up to your favorite micro using a STEMMA QT adapter cable. The Stemma QT connectors also mean the MPR121 can be used with our various associated accessories. QT Cable is not included, but we have a variety in the shop.
Features:
- Uses I2C 7-bit address 0x5A (can be set to 0x5B, 0x5C or 0x5D)
Revision History:
As of November 22, 2022 – we've updated this PCB with Adafruit Pinguin to make a lovely and legible silkscreen - you may get the new PCB or the older version with vector fonts - both are identical other than the fancy silkscreen. Additionally, this sensor breakout may come with black or tan STEMMA QT connectors. They work the same!
As of Jan 21, 2021 - We've updated this sensor to our STEMMA QT standard for sensors. We have two STEMMA QT connectors on either side for quick connectivity. The physical size of the board and two mounting holes location have not changed. However, we did change the power/I2C breakout section pinout to match our standard pinout order!
Documentation and Downloads


