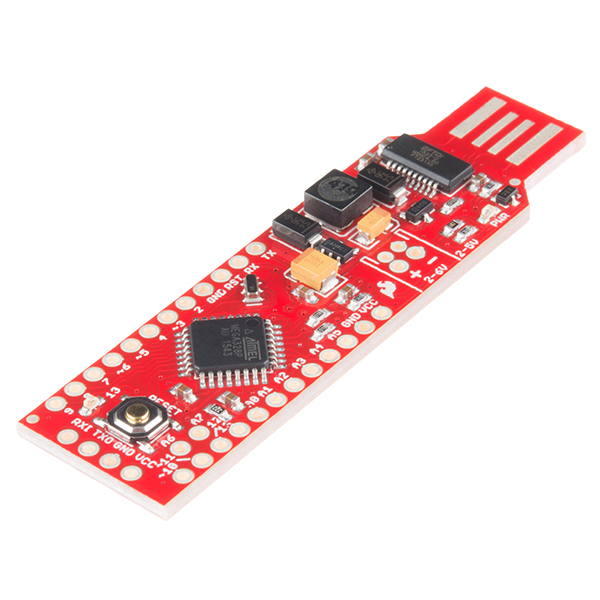
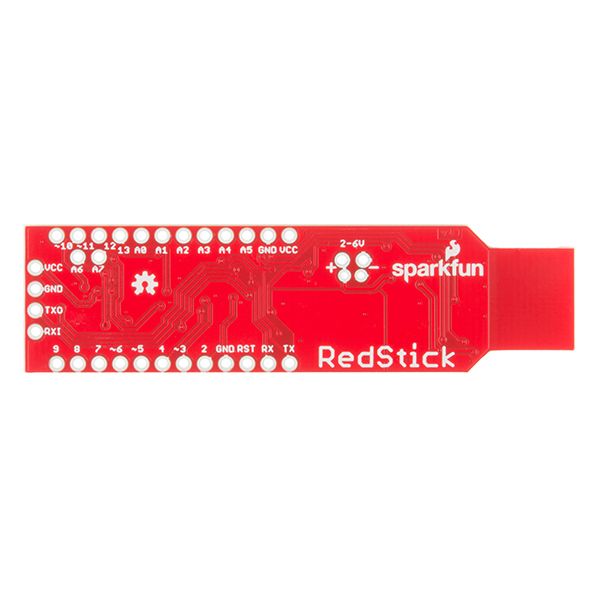
Description: In 2015 SparkFun developed the BadgerStick as a fun and interactive way for people to learn about soldering and engage with their products at the multiple trade shows they appeared at. In 2016 they refined the BadgerStick into what you see here, the SparkFun RedStick! The RedStick combines some of our favorite features like the Uno’s Optiboot bootloader, the FTDI, small size, and the ability to plug directly into a computer’s USB port (no FTDI board or USB cable required).
The RedStick can be programmed by just plugging the board into your computer using the Arduino IDE: Just plug in the board, select “Arduino UNO” from the board menu and you’re ready to upload code. The RedStick also has the hardware features you are used to: 14 Digital I/O pins with 6 PWM pins, 8 Analog Inputs, UART, SPI, I2C and external interrupts. This is all in a tiny package that can be plugged directly into your computer.
You can power the SparkFun RedStick over the USB plug or through the power input (which supports a JST connector for a single celled Lipo). The onboard boost circuit can regulate anything from 2-6V. While the board does not have a battery charger, it can be powered over a single celled Lipo or even 2 AA batteries. Check out or related products for batteries and battery cases.
Features:
- A boost regulator providing 5V to the Atmega328p from an input range of 2 to 6 volts.
- 16 MHz system clock (allowed because of the additional supply voltage)
- Uno compatible in the Arduino IDE. Simply select the board “Arduino/Genuino Uno” and go!
- USB end matches standard USB thickness and width.
Documentation and Downloads
- Schematic
- Eagle Files
- Hookup Guide
- Datasheets (ATmega328p & NCP1402)
- GitHub


