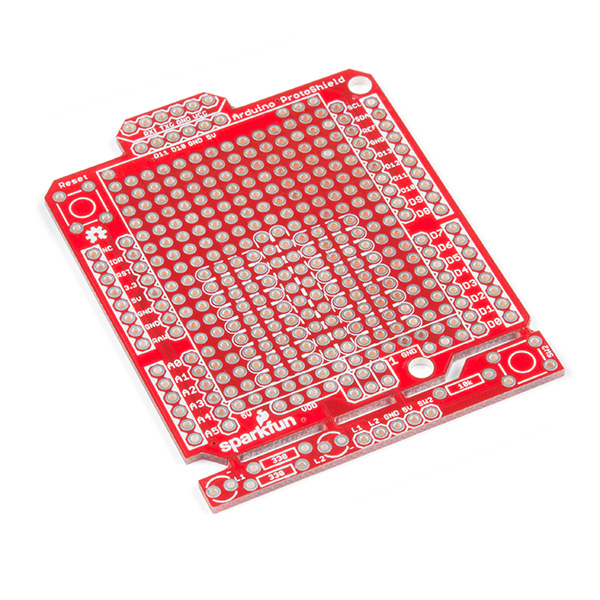
Now you don’t need to buy the whole ProtoShield kit if you just need a piece of prototyping board that will fit on top of your Arduino. You might want to grab a stackable header kit, though, which you can find in the related items below.
One of our favorite features with this version of the Arduino ProtoShield is the solderable-like breadboard prototyping area! Half of this area was designed with a breadboard in mind. On the underside of the shield you will be able to see open jumper pads between each through hole to make a connection like a breadboard. Once you add a component, simply add a solder jumper between holes to make a connection. For those that prefer the standard prototyping pads, we left the other side (near the BlueSMiRF and Serial UART ports) as is.
We have also moved the prototype testing components (those used to make sure your circuit works effectively) off of the “mainland” of the shield and onto a ProtoSnap styled, removable PCB. On this test area you will find soldering areas for two 3mm LEDs (as well as pins to control and power them), two 330 Ohm resistors, a 10K Ohm resistor, and a pushbutton. These items you’ll need to purchase separately.
Features:- Arduino R3 Footprint
- Solderable-Like Breadboard
- BlueSMiRF or Comparable 6-pin Pins
- Detachable Test Area
Documentation and Downloads


