Description:
We've all been there; you load up your project with a bunch of LEDs, only to discover that none have the same brightnesses. Some are way too dim to see, while others require sunglasses to not be blinded! Even we have experienced this problem with prototypes, so we recently standardized all resistor values for each of our LEDs (you can read more about that process in this blog post). In the process, we created this board to test each of our LEDs side by side. We realized that our customers might be interested in having this board to test their own LEDs, so we added all the features we could think of!
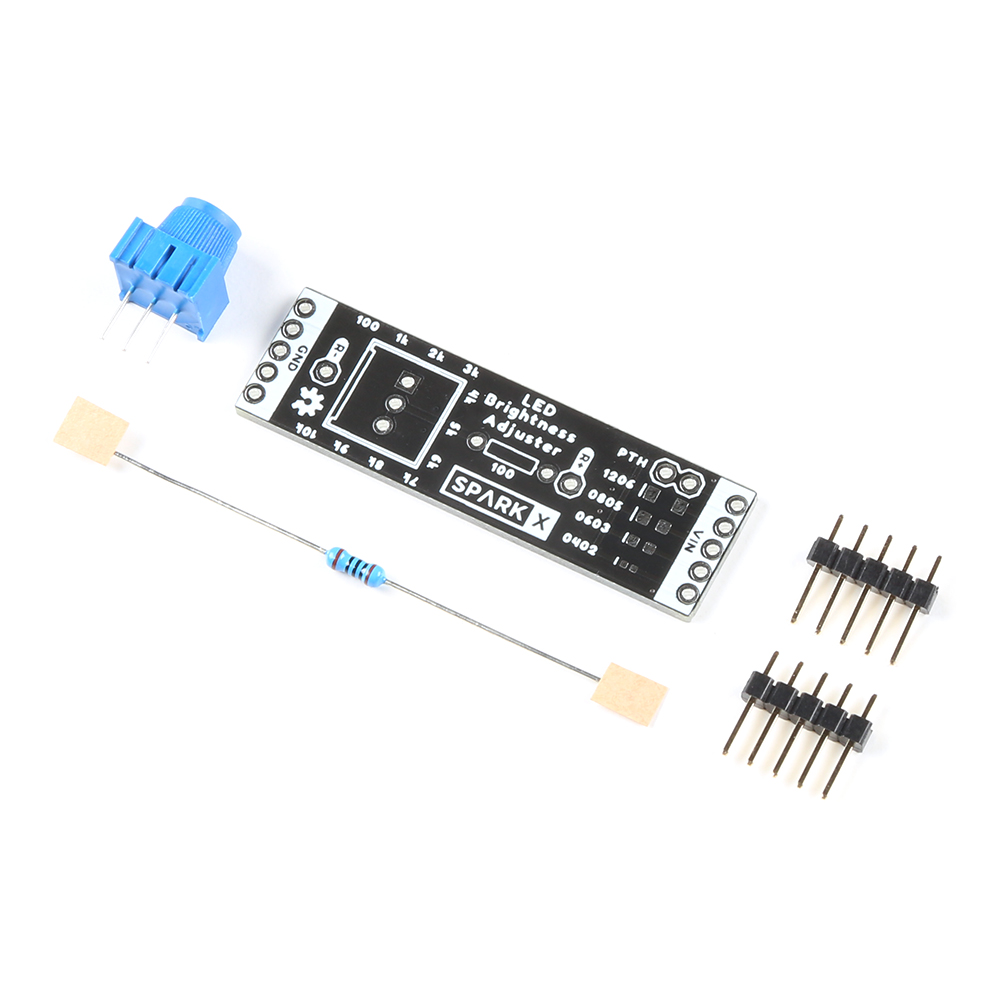
The board is designed to slot into the power rails of a breadboard, so you can stack up to 10 boards next to each other. Each board has 5 different footprints for different sizes of LEDs (SMD and through-hole), but only one LED should be added to each board. A 10k linear potentiometer is used to adjust the LED brightness, with a 100 Ohm resistor in series to protect the LED from burning out. There are silkscreen labels around the potentiometer to indicate the approximate resistance, with a couple test points "R+" and "R-" to measure the exact resistance with a DMM.
This is sold as a kit, which includes the PCB, a potentiometer, a 100 Ohm resistor, and headers for connecting into a breadboard. LEDs are NOT included with this kit, the idea is to test your own! However you're always welcome to pick up a few extra from our storefront if you need them. The kit does not come pre-assembled, so you'll need to break out the soldering iron. This would also be great for anyone starting to learn electronics as an introduction to soldering and Ohm's Law!
Includes:
- 1x LED Brightness Adjuster PCB
- 1x 10k Blue Trimpot
- 1x 100 Ohm Axial Resistor
- 2x 5-pin Male Headers
Documentation and Downloads


